

Create and populate your first group
Step-by-step guide to creating and populating a supporter group
Permissions
Only admins can create supporter groups. Captains and vice-captains can help manage them once set up.
Part 1: Creating a new group
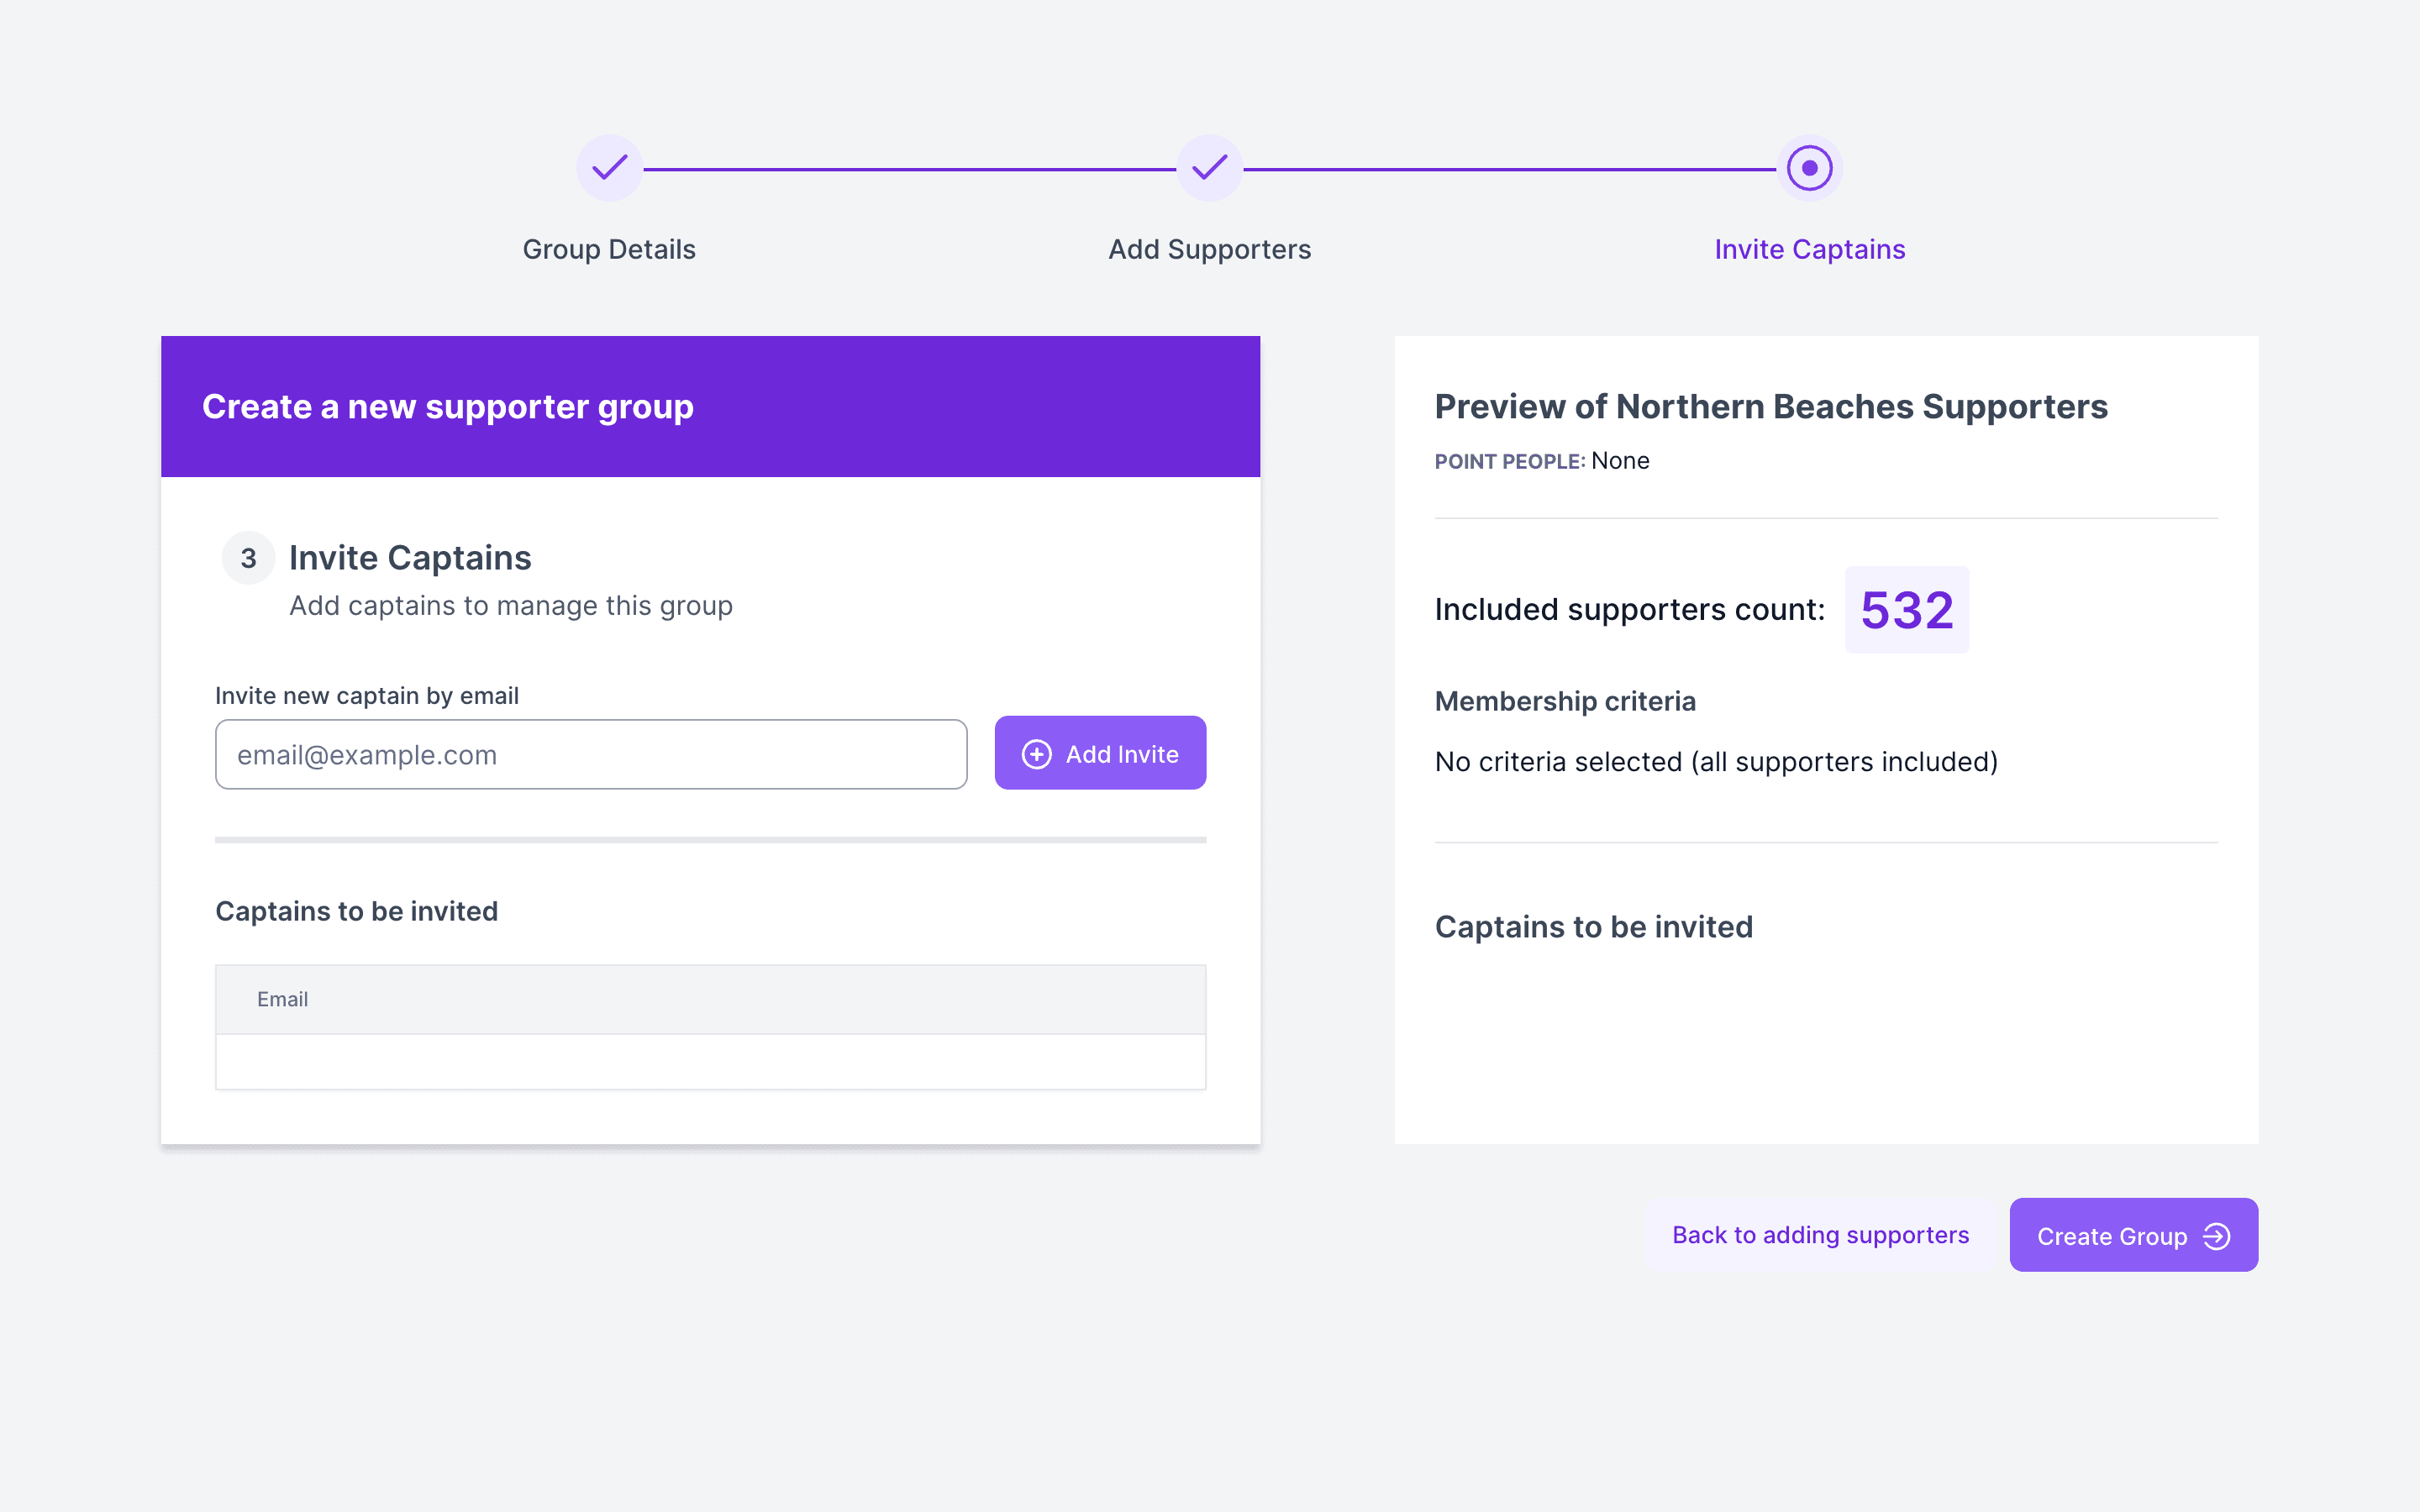
On the Supporter groups page, click Add your first group. Once you have groups, the same wizard opens from Add new group at the top of the page. It has three steps.
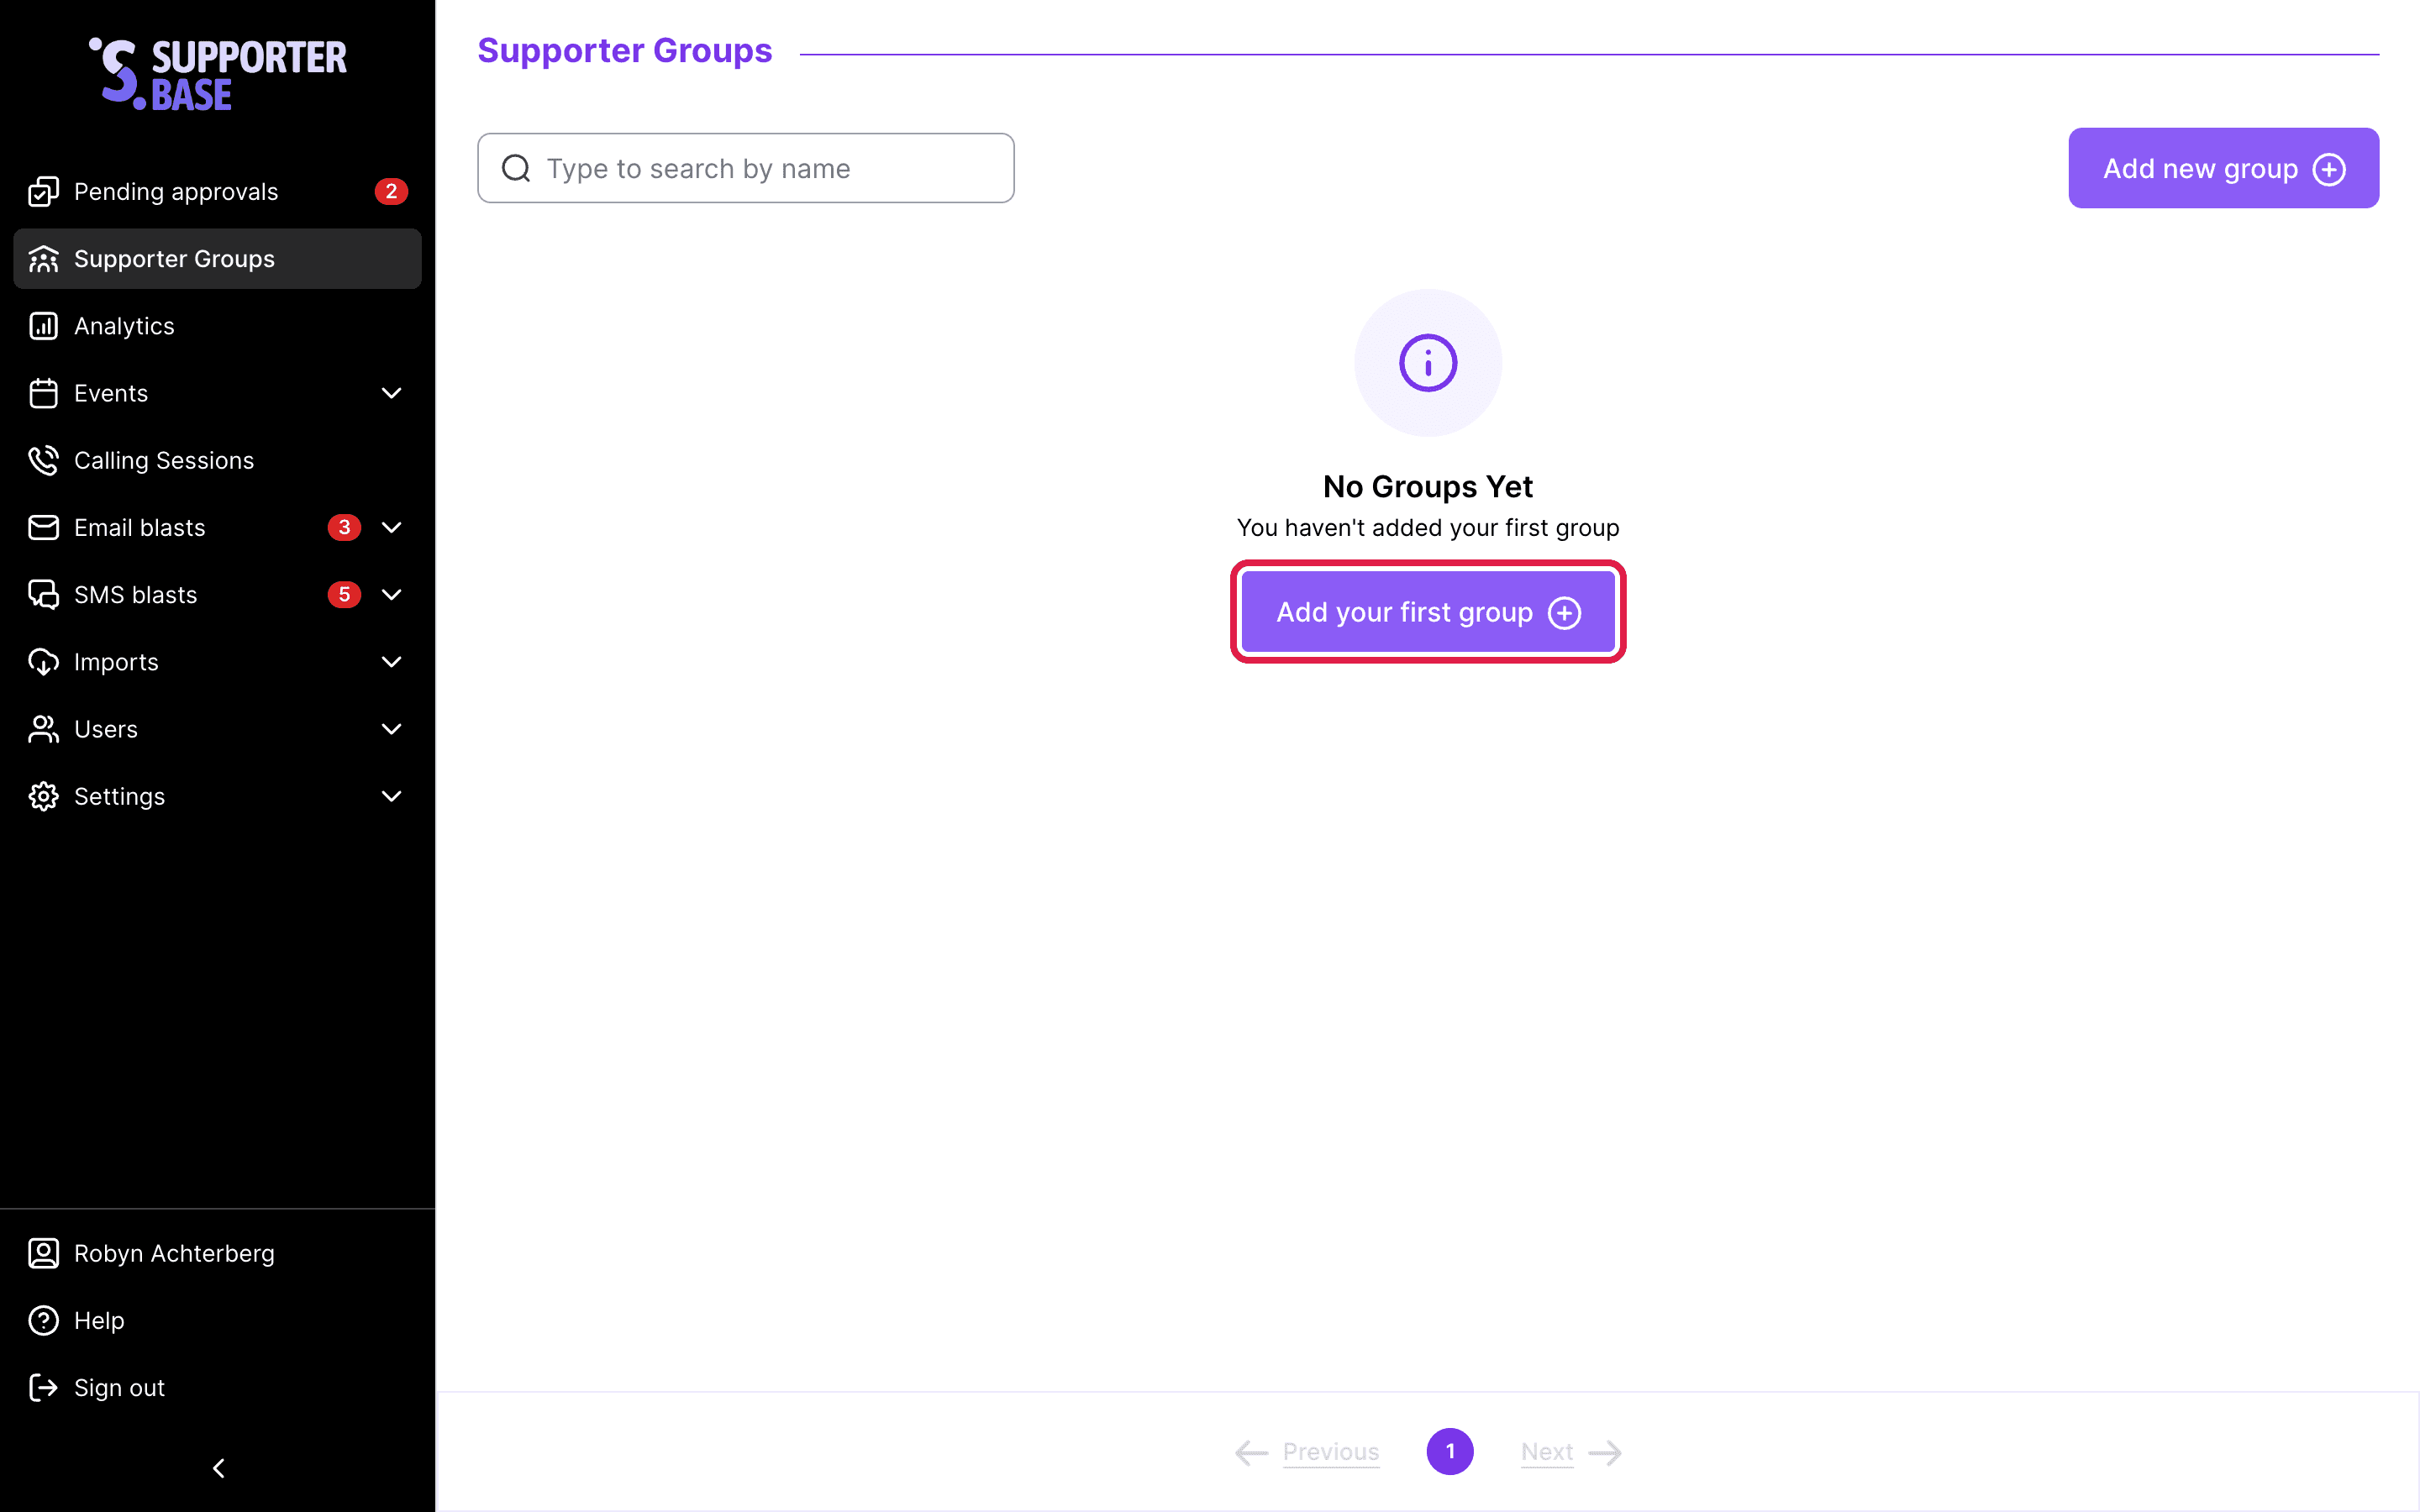
Group details
- Enter the Group name.
- (Optional) Add an Internal SupporterBase description. Leaders see this, supporters do not.
- (Optional) Tick Add physical address for group.
- Under Show a public page on the site at:, choose whether supporters can find and join the group online.
- Tick Add point people (get alerts for this group) and choose which admins get notified. Leave it unticked and every admin is notified.
- Click Next: Add supporters.
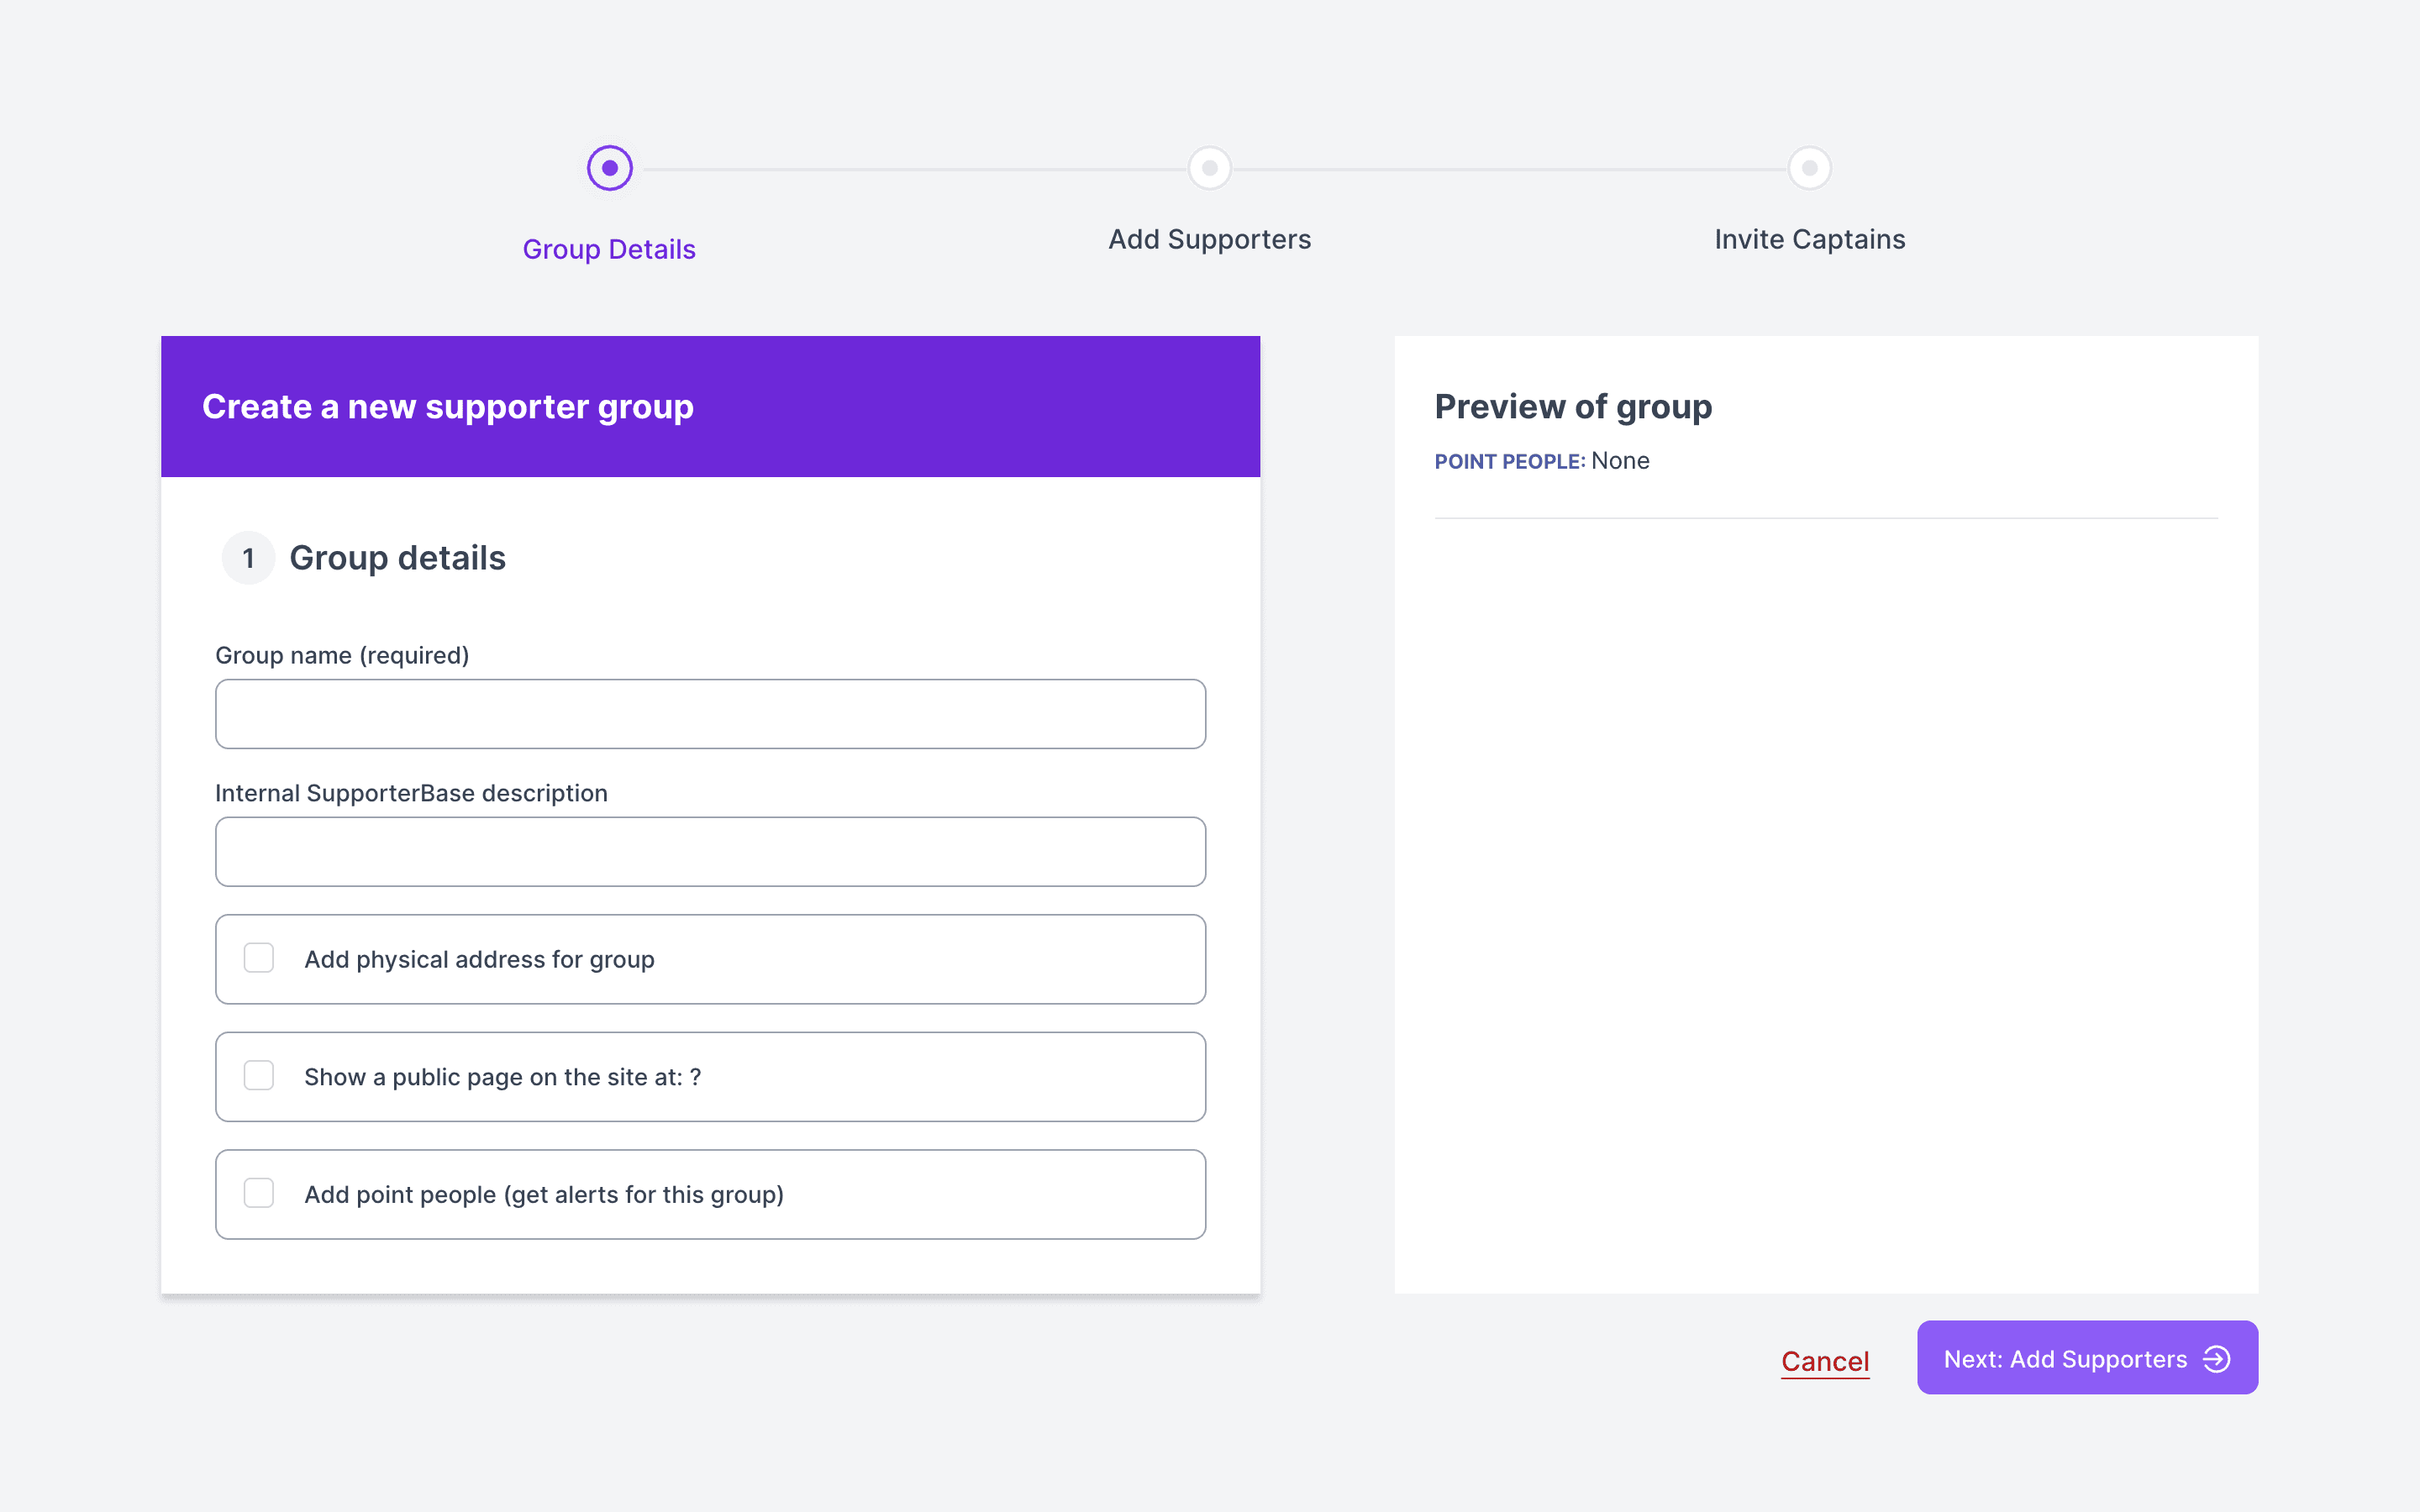
Add supporters
- Add supporters by inclusion or exclusion tags and/or by postcode. The supporter count updates in real time.
- Use the filter logic (any vs all tags) to fine-tune.
- Click Next: Invite captains.
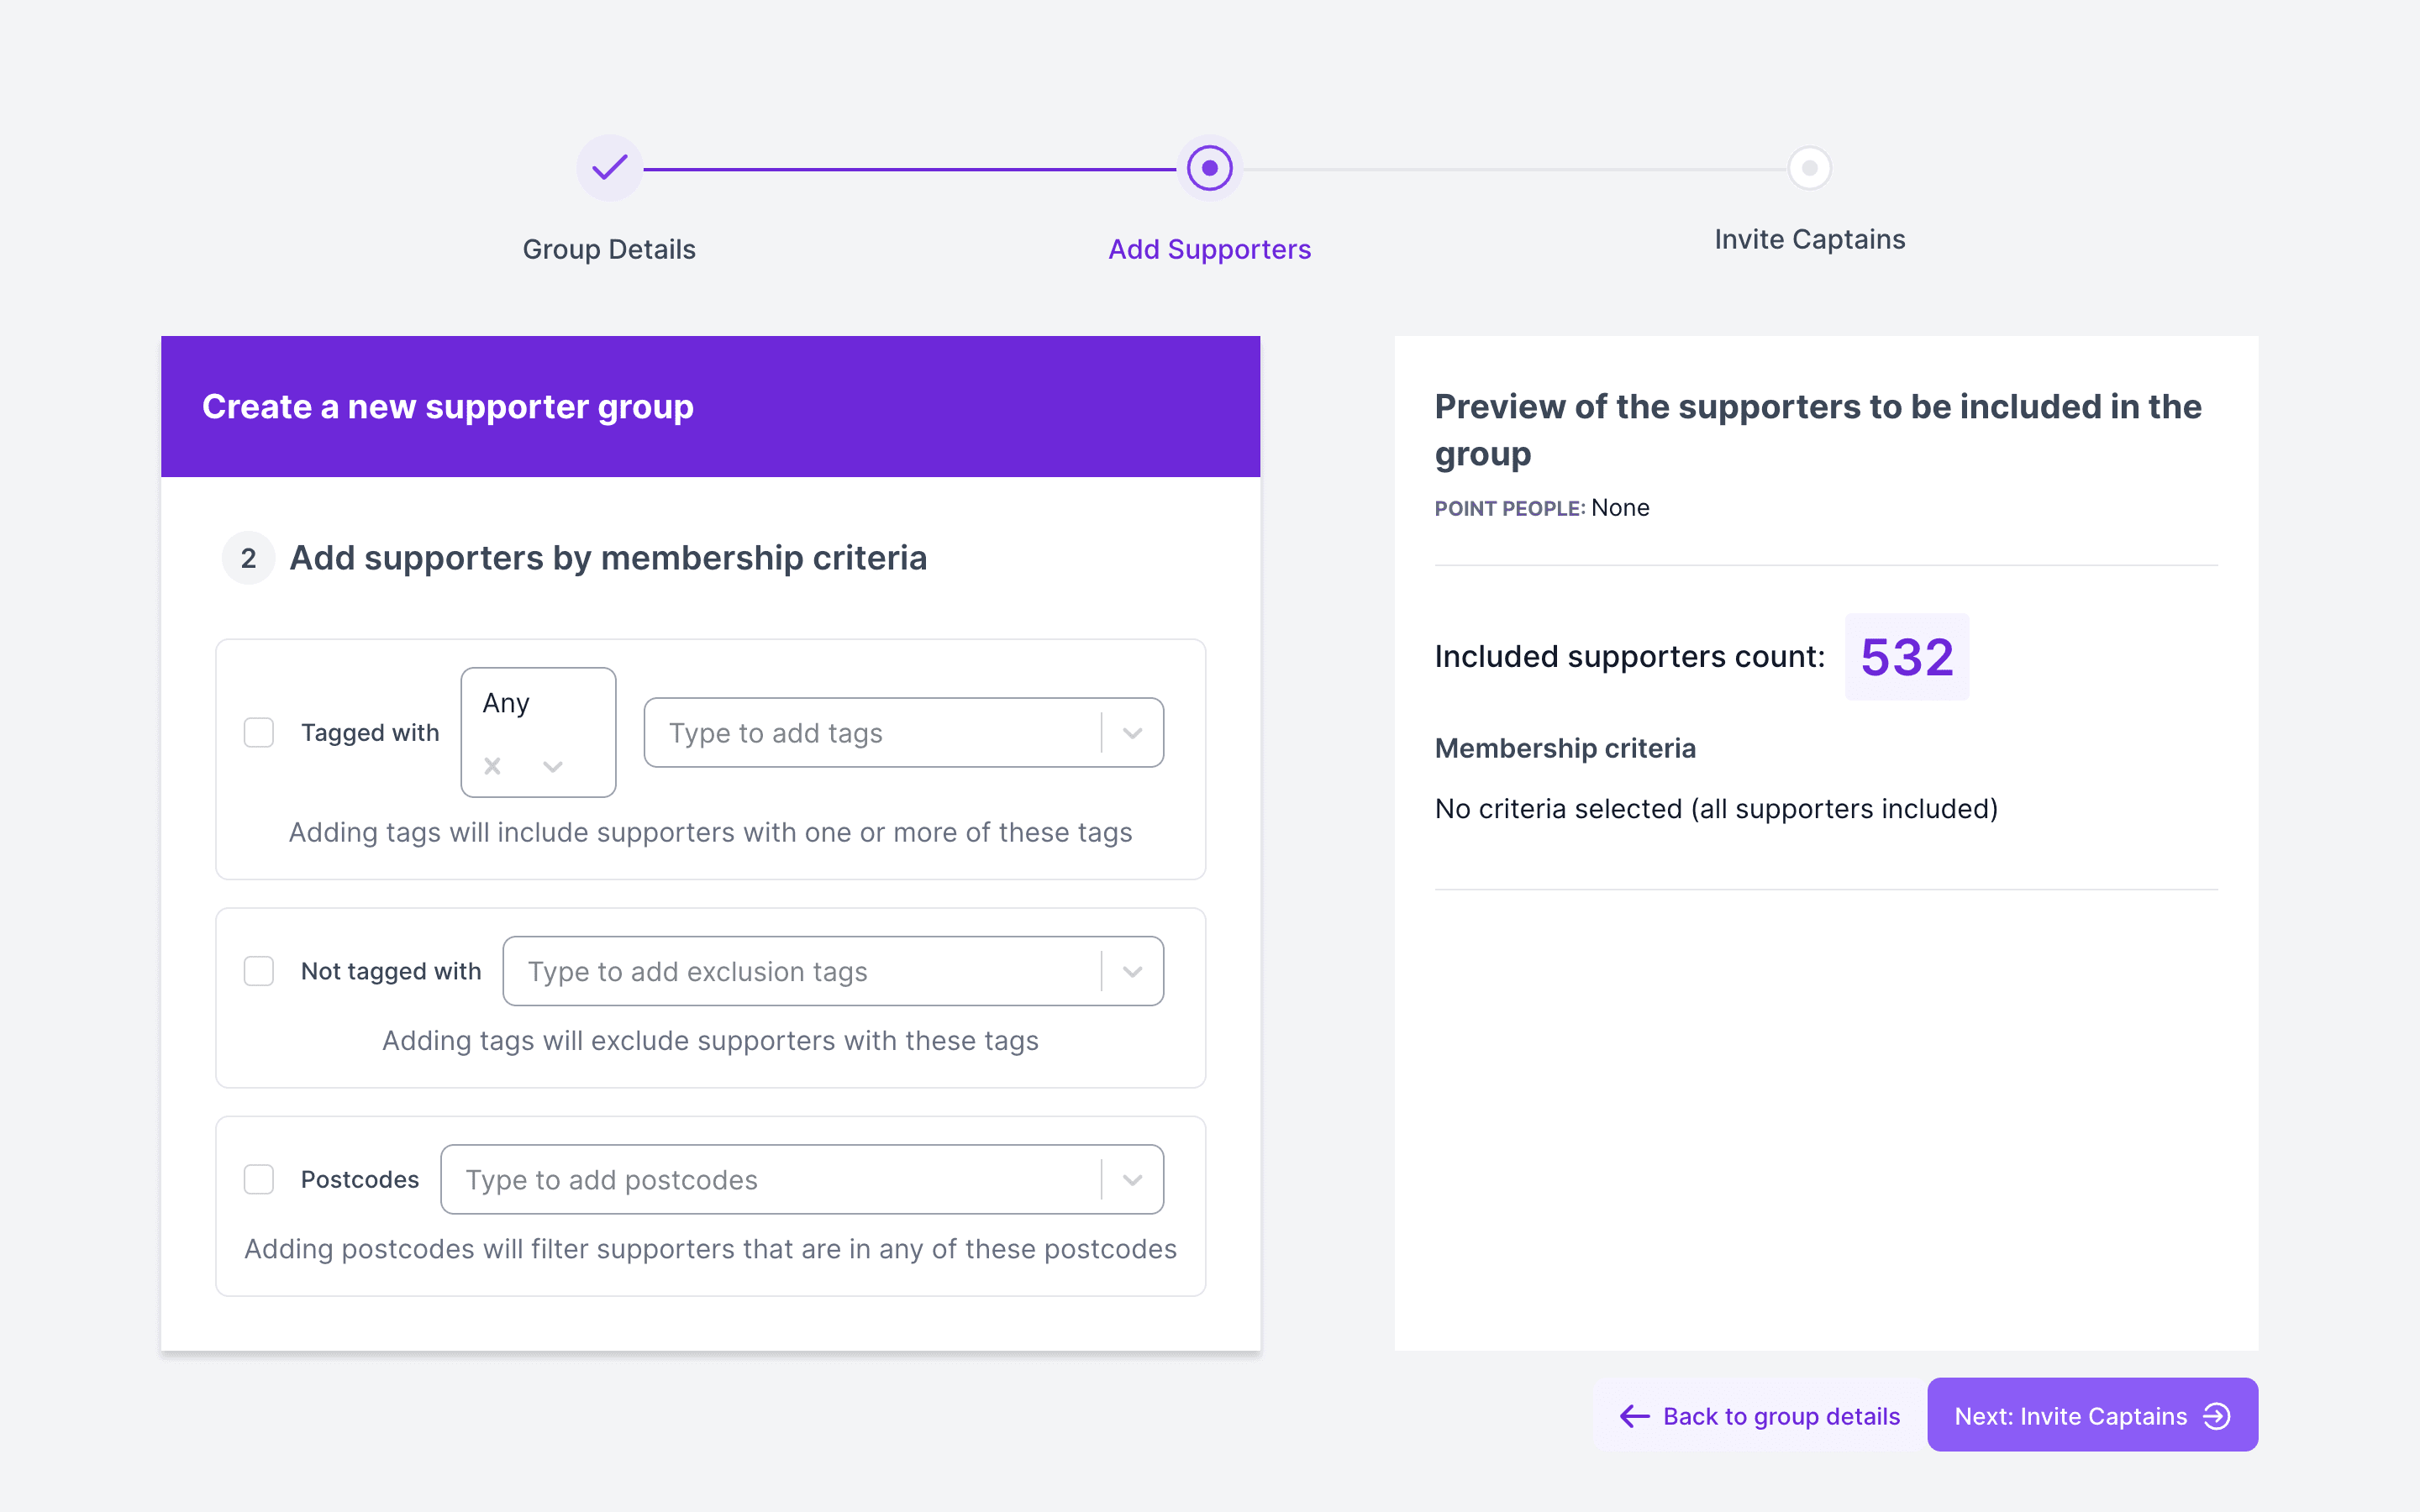
Invite captains
- Enter an address in Invite new captain by email, then click Add invite. Repeat for each captain, or skip this step and add captains later.
- Click Create group.
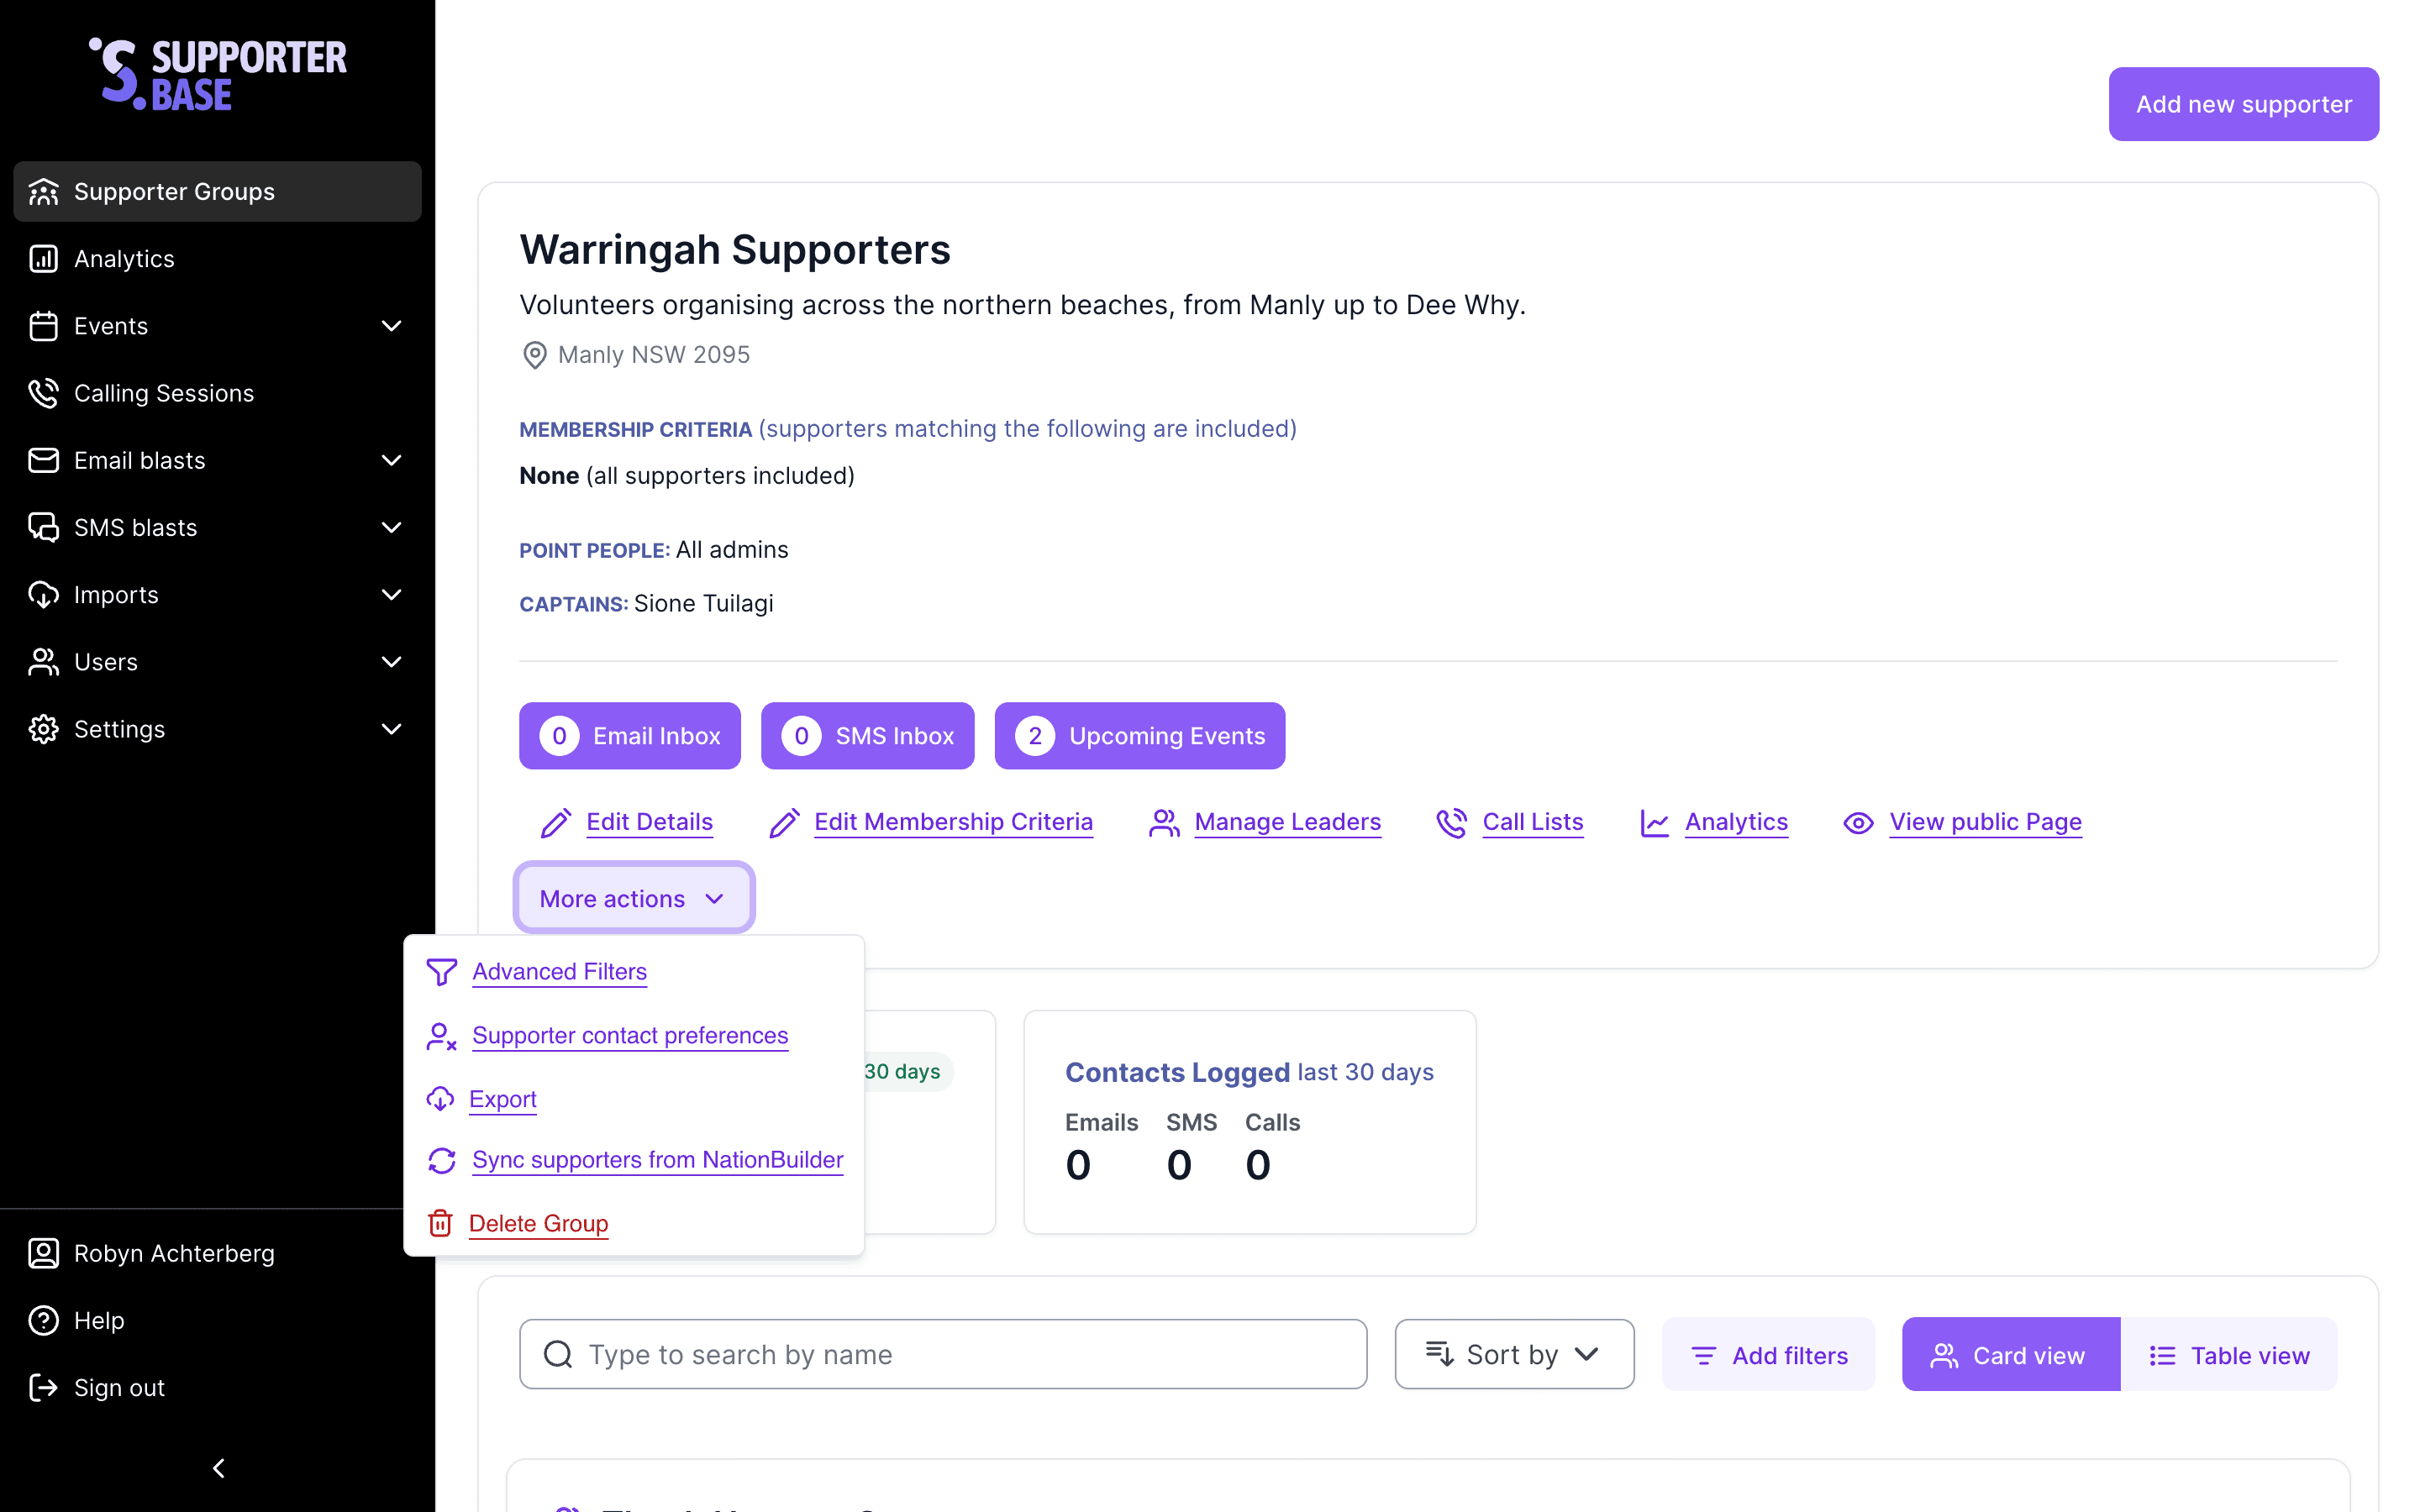
Once created, SupporterBase queues a background sync of supporters from NationBuilder. Supporters appear on the group page once that job finishes. Admins can also run the sync themselves. Open More actions on the group card and click Sync supporters from NationBuilder. The item does not appear for captains or vice-captains.
Learn more in our Group Management guide.
Part 2: Populating a group
You can add supporters via NationBuilder tags, the SupporterBase interface, or imports.
Option A: Add via NationBuilder tags
Admins with NationBuilder access can apply the correct tags.
To sync into SupporterBase, each supporter needs both:
- The master
supporterbasetag (all lowercase). - The relevant group tag.
See NationBuilder's guide to tags for more detail.
Option B: Add via SupporterBase interface
Bulk import (CSV):
Follow our Import New Supporters guide.
One by one:
- Go to your group's summary page.
- Click Add new supporter (top right).
- In the pop-up form, use Supporter search to check whether the person is already in the system. This field only appears when an admin has turned on Enable supporter autocomplete search when adding supporters under Settings > Configurations > General. It is off by default.
- Complete the Contact details and Address sections.
- Under Other membership criteria, tick I confirm this person has provided consent to be added to our supporter group (check your organisation's policies).
- Click Add supporter.
Minimum data requirements
For a supporter to sync into SupporterBase, they must meet all of the following:
| Requirement | Detail |
|---|---|
| Tags | Have both the supporterbase master tag and the correct group tag(s) |
| Contact info | Have either a valid phone number or email |
| Name | Have either a first name or last name |
| Subscription | Not be unsubscribed from contact |
| Characters | Contain only standard characters (no unusual symbols) |
Learn more about importing supporters in our Import New Supporters guide.